How to Build a Greenhouse on a Small Homestead: Size, Materials, and a Budget Plan
- Primary Signal: How to Build a Greenhouse on a Small Homestead: Size, Materials, and a Budget Plan
- Overview: A greenhouse extends your growing season by months, but the wrong size or the wrong glazing wastes money. Learn how to plan, site, and build one that fits a small homestead budget....
- Verification: Analyzed and compiled by SkyFree Living editorial monitoring desk.
A greenhouse is the single most useful structure a homesteader can build after the chicken coop. It lets you start seeds weeks early, grow food through winter, and keep tender plants alive through frost. But greenhouses are also easy to get wrong: too small, too hot, too flimsy, or built in the wrong spot. Planning before you buy saves more money than any sale.
Every greenhouse owner says the same thing: I wish I had built it bigger. A greenhouse fills up fast — seed trays, potted plants, a tomato that takes over a corner. As a rule, build the largest size your budget and your site allow, and never smaller than about two by three metres. Anything smaller overheats in an afternoon and is too cramped to work in.
Plan the layout before you buy: a central path, benches on both sides, and a door wide enough for a wheelbarrow. Leave space for a water barrel inside, which stores heat overnight and gives you water at hand. If you can, build on level ground close to the house, so you will actually use it in bad weather.
Site the greenhouse for maximum winter sun and shelter from wind. In the northern hemisphere, a long side facing south catches the most light, and a position sheltered by a hedge or a building on the north side cuts the wind that steals heat. Avoid low spots where cold air pools and frost settles first.
Put water and power within reach. A hose that reaches the greenhouse is essential, and a small fan or heater needs power if you plan to use it in winter. A path that stays passable in mud matters more than it sounds — you will visit the greenhouse twice a day in spring, and a muddy track will stop you going.
The two big choices are the frame and the glazing. A wooden frame is cheap and easy to build but needs maintenance. A metal frame costs more and lasts longer. For glazing, twin-wall polycarbonate is the homestead favourite: it insulates better than glass, it does not shatter, and it is light enough for a simple frame. Glass is clearer and lasts forever, but it is heavy, fragile, and loses heat faster.
Budget honestly. A small kit greenhouse can cost a few hundred dollars, a solid DIY build a thousand or more, and a large permanent structure several thousand. Include the base, the benches, and the ventilation in your budget — a greenhouse without ventilation is a solar oven, and plants die in it faster than they would outside.
Ventilation is not optional. A roof vent that opens automatically with heat, plus a door or louvre at the other end, keeps the air moving and stops disease. On a hot day, a greenhouse without ventilation can reach fifty degrees in an hour. If your budget allows one upgrade, make it an automatic vent opener.
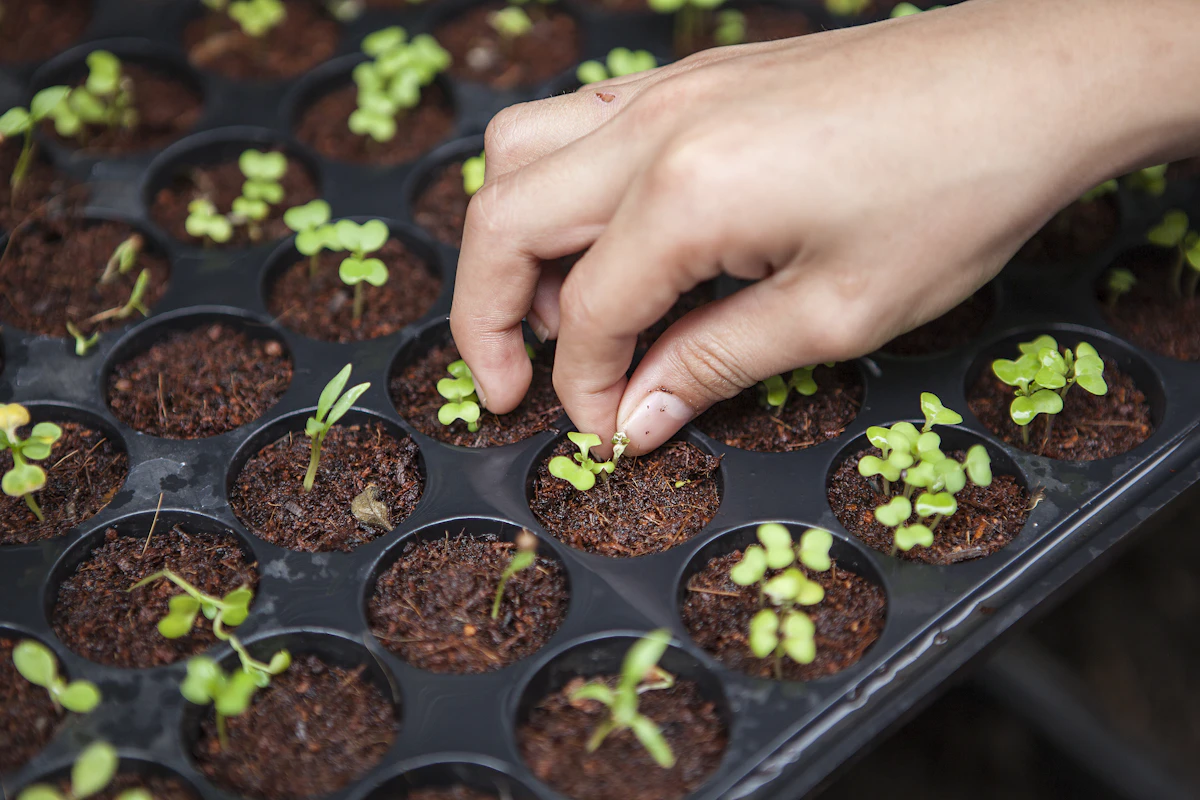
Heat cheaply: water barrels, a compost pile inside, or a small electric heater on a thermostat for frosty nights. Do not try to keep a greenhouse tropical in winter — aim to keep it just above freezing and grow what suits the season. Start with the easy wins: tomatoes and peppers in summer, salad greens and herbs in winter, and seed trays all spring.
Start small with what you grow inside, and let the greenhouse earn a bigger role over time. The first year, use it for seed starting and for the tender crops that struggle outside. The second year, add winter greens and a few early tomatoes. By the third year, you will know exactly what your greenhouse does best, and you can plan around it. A greenhouse is not a magic box that grows everything — it is a tool that moves your season by a few precious weeks on each end, and those weeks are worth more than any single crop. Build it well, use it daily, and it will pay for itself many times over.
More from SkyFree Living