How to Size a Solar Battery Bank for a Tiny Home: The 2-Day Autonomy Rule
- Primary Signal: How to Size a Solar Battery Bank for a Tiny Home: The 2-Day Autonomy Rule
- Overview: Sizing a battery bank for a perfect sunny day is the most common off-grid mistake. This guide walks you through the two-day autonomy rule, real load numbers, and matching panels to...
- Verification: Analyzed and compiled by SkyFree Living editorial monitoring desk.
The most common mistake in off-grid solar is sizing the battery bank for a perfect sunny day. Real life has cloudy stretches, winter sun, and the occasional week of rain. The rule that saves off-grid tiny homes is simple: size your battery bank for two full days of autonomy, so a single cloudy day never leaves you in the dark.
Start by listing every appliance and its draw. A typical off-grid tiny home with LED lights, a 12-volt refrigerator, a laptop, phone chargers, a water pump, and a vent fan uses roughly three to five kilowatt-hours per day. Add up the watts of each device multiplied by the hours you run it, and you have your daily load. Be honest about the fridge and the laptop, since those two usually dominate the total.
Multiply your daily load by two. For a five kilowatt-hour daily load, you need a ten kilowatt-hour battery bank, which is roughly what a standard 48-volt lithium iron phosphate setup provides. Lithium iron phosphate batteries now last 4,000 to 6,000 cycles at 80 percent depth of discharge, which is ten or more years of daily use. Budget around 4,000 to 6,000 dollars for a ten kilowatt-hour bank in 2026.
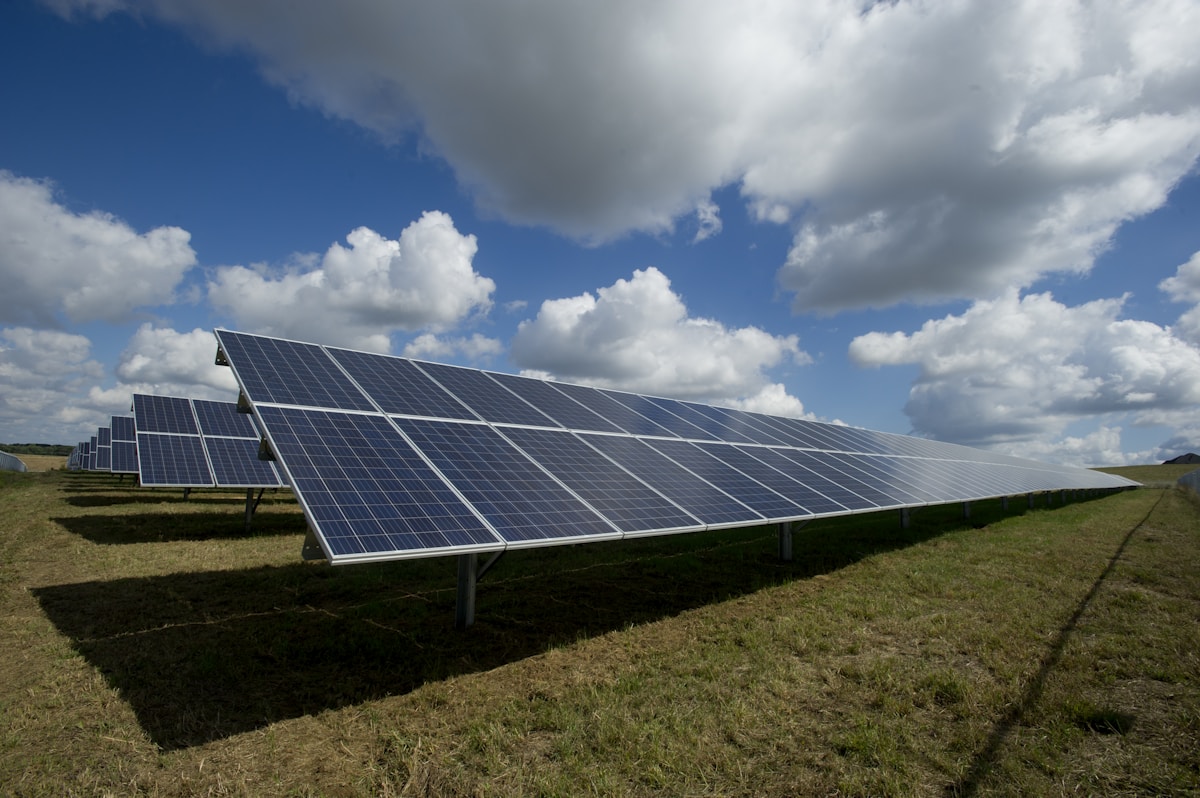
Match your solar array to the load as well. For a five kilowatt-hour daily load in a location with five peak sun hours, you need about 1,200 to 1,500 watts of panels, which is four to six 400-watt panels taking up roughly 80 to 120 square feet. A standard 8.5-foot-wide tiny house on wheels roof can hold about 1,200 watts, so a ground-mounted array is often the smarter choice: it lets you angle the panels optimally and clean them without climbing on the roof.
Pair the system with a pure sine wave inverter sized to your biggest simultaneous load. A 3,000-watt inverter covers most tiny homes, and a 5,000-watt unit gives headroom for a well pump or a power tool. Oversize your array by 20 to 30 percent to account for cloudy days and low winter sun, and consider a small backup generator for the rare week when the sun simply does not cooperate.
Before you buy, check: daily load in kilowatt-hours, battery capacity for two days, panel wattage for your peak sun hours, and an inverter that covers your biggest loads. Get those four numbers right and your tiny home will run through the winter without a second thought.
Winter is where undersized systems fail, so plan for it explicitly. In many regions, peak sun hours drop from five in summer to two or three in winter, which means the same array produces half the power. The fix is a combination of more panels, a bigger battery, and lower winter usage: switch to LED lighting, run the laptop on battery during the day and charge it when the sun is out, and use propane for heating and cooking instead of electricity. Track your production and consumption for a full year, and you will learn exactly how much margin your system has in the worst month, which is the only number that really matters.
Monitoring turns a good system into a reliable one. A battery monitor that shows state of charge, current draw, and time remaining is worth every cent, because it tells you the truth about your power instead of leaving you to guess. Check it in the evening and adjust the next day: if you ended the day at 60 percent, you have margin; if you ended at 25 percent, you need to cut usage or add capacity. Most off-grid owners who run out of power do so because they did not look at the monitor, not because the system was too small.
📖 Continue Reading the Full Story
Continue reading this article on SkyFree Living.
⚡ Access Full Content NowMore from SkyFree Living


 🛍️ Caylin Shop
Aesthetic Throw Blanket Buying Guide: Cosy, Soft, and Photogenic
A throw blanket adds warmth and style to a sofa or bed. Here is how to choose one: fabric, weight, size, washa...
 💎 LuxeLiving 768
Crypto APY Calculator UK: Staking Rewards Guide for 2026
UK crypto investors: calculate staking rewards with APY vs APR explained, tax notes for HMRC, and the best sta...
 ✈️ SkyFree Club
Cheapest Ways to Book Business Class to Europe With Points in 2026
Business class to Europe can cost 60,000 points or 200,000 — the difference is the program you book through. H...
 ⚡ SkyFree Athletics
How Long Should You Rest Between Calisthenics Sets? A Practical Guide
Rest too little and your reps collapse; rest too long and your workout drags. Here is how long to rest for str...