How to Make Butter at Home: Cream, Churning, and Storing It Right
- Primary Signal: How to Make Butter at Home: Cream, Churning, and Storing It Right
- Overview: Fresh butter from your own cream is one of the simplest homestead foods to make. Learn how to churn it by hand or machine, wash it properly, and store it so it stays sweet....
- Verification: Analyzed and compiled by SkyFree Living editorial monitoring desk.
If you keep a milk cow or goats, or you can buy good cream locally, homemade butter is one of the easiest wins on a homestead. It takes about twenty minutes, the ingredients are a single one — cream — and the result tastes better than anything from a shop. The only real skill is knowing when to stop, and how to wash the butter properly so it keeps.
Butter is made from cream, and the quality of the cream decides the quality of the butter. Use heavy cream with at least 35 percent fat, and let it come to room temperature before you churn — cold cream takes far longer to turn. If you have raw cream from your own animals, skim it from milk that has sat undisturbed for twelve to twenty-four hours.
One litre of cream gives you roughly 350 to 400 grams of butter, plus buttermilk you can use for baking. That ratio is worth knowing before you start, so you can plan how much cream to set aside and what to do with the buttermilk that comes out of it.
The simplest method is a jar: fill a clean jar halfway with cream, seal it, and shake. After five to ten minutes the cream will thicken into whipped cream, then suddenly separate into a solid lump and thin liquid. That sudden change is the butter forming. A stand mixer with a whisk attachment does the same job faster, and a hand churn is the traditional middle ground.
Watch for the moment the cream breaks. One minute you have thick whipped cream, the next you have butter and buttermilk. Stop as soon as the lump forms and the liquid runs clear-ish. Over-churning makes the butter grainy and hard to wash, so check every thirty seconds once the cream starts to thicken.
Fresh butter still contains buttermilk, and buttermilk left inside the butter is what makes it go sour in days instead of weeks. Pour off the buttermilk and save it. Then wash the butter: put it in a bowl of cold water and knead it with a wooden spoon or your hands, pressing the liquid out. Change the water and repeat until the water runs clear — usually three or four rinses.
This step is the difference between butter that keeps for two weeks and butter that keeps for two months. It feels tedious the first time, but it takes five minutes, and it is the single most important part of the whole process.
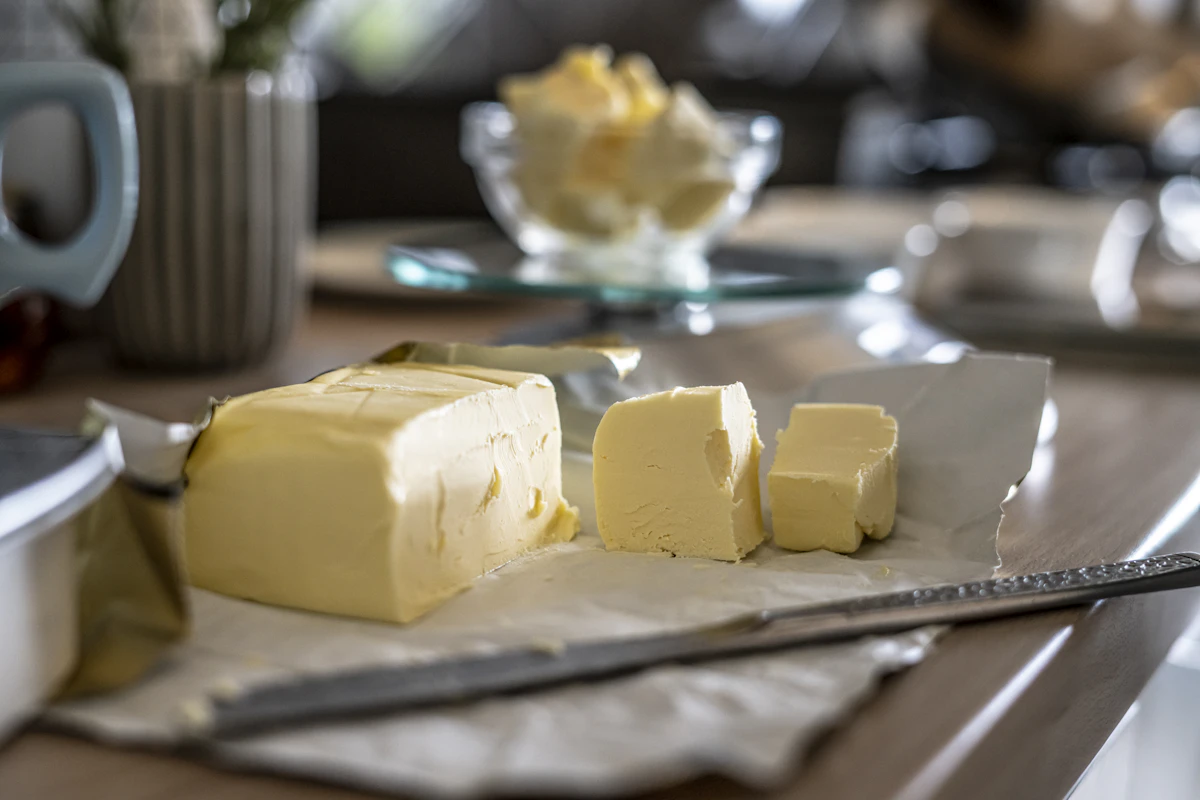
Knead in salt if you like salted butter — about one teaspoon per 250 grams is a good starting point. Salt adds flavour and helps the butter keep a little longer. Shape the butter into a block, a roll in parchment paper, or press it into a butter mould if you have one. A neat block is easier to store and to slice.
Store butter in the fridge for up to a month, or freeze it for six months. Wrap it tightly in parchment and then in a sealed bag, because butter absorbs smells from the fridge fast. Leave one block in the fridge for daily use and freeze the rest. And use the buttermilk: it makes the best pancakes, biscuits, and fried chicken batter you will ever taste.
Once you have made butter a few times, try the variations that make it yours. Knead in fresh herbs from the garden for a herb butter that transforms grilled vegetables. Mix in honey and cinnamon for a sweet butter that children love on toast. Smoke it lightly, or culture the cream with a spoonful of yogurt overnight before churning, which gives the butter a gentle tang like the farmhouse butter of a century ago. Butter is one of the simplest foods to make, and one of the easiest to make your own — and that is exactly why homesteaders have made it for generations.
More from SkyFree Living