How to Grow Bell Peppers: Heat, Patience, and a Long Sweet Harvest

- Primary Signal: How to Grow Bell Peppers: Heat, Patience, and a Long Sweet Harvest
- Overview: Bell peppers are slow, heat-loving, and gloriously productive once they get going. This guide covers starting seed indoors, hardening off, feeding, and how to get sweet, thick-wall...
- Verification: Analyzed and compiled by SkyFree Living editorial monitoring desk.
Bell peppers are slow, heat-loving, and gloriously productive once they get going. This guide covers starting seed indoors, hardening off, feeding, and how to get sweet, thick-walled peppers instead of small green ones.
This guide covers why peppers need a head start, hardening off and transplanting, water, food, and mulch, green, red, and everything between, and common problems and fixes. Each section explains the topic with concrete examples, so you can use what you learn straight away.
Bell peppers are one of the slowest vegetables to mature, needing 60 to 90 days after transplanting, which is why seed must be started indoors 8 to 10 weeks before the last frost. Pepper seed germinates best at 25 to 30 degrees Celsius, and a heat mat makes a real difference, since cool soil can delay germination by weeks. Start more seed than you need, because pepper germination is uneven and some varieties sprout in a week while others take three.
Peppers hate cold, so wait until night temperatures stay above 13 degrees Celsius and all frost danger has passed before transplanting. Harden plants off over 7 to 10 days, giving them a few hours outdoors at first and bringing them in at night, because a sudden move shocks them. Plant peppers 18 inches apart in the sunniest bed you have, and add a stake at planting time, since a loaded pepper plant will fall over in wind.
Peppers need steady water, about 1 inch a week, and inconsistent watering causes blossom end rot, which shows as black sunken patches on the fruit. Feed with a balanced fertiliser at planting and again when the first fruits set, but avoid too much nitrogen, which grows leaves at the expense of fruit. Mulch heavily with straw or leaves, because mulch keeps the soil warm and moist and suppresses the weeds that compete with shallow pepper roots.
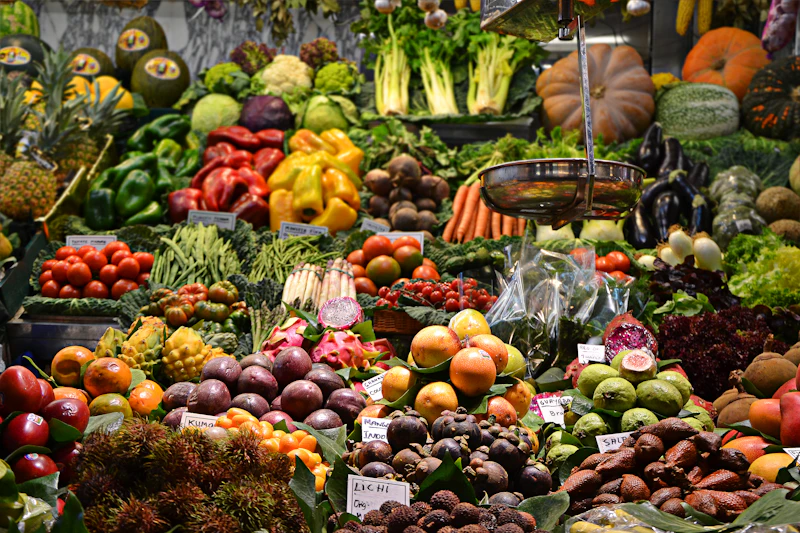
Bell peppers start green and ripen to red, yellow, or orange depending on the variety, and they get sweeter as they colour. Picking green peppers encourages the plant to set more fruit, while leaving peppers to ripen fully gives you sweeter, more nutritious fruit. Harvest with scissors or a knife rather than pulling, because yanking the fruit can break the branch and cost you the rest of the season's peppers.
Blossom end rot is caused by uneven watering and calcium uptake, so water consistently and mulch, rather than adding calcium to the soil. Aphids love pepper plants, but a strong jet of water or a spray of insecticidal soap usually clears them without chemicals. If your peppers stay small, the usual causes are cold nights, too little sun, or overcrowding, so check the site before blaming the variety.
More from SkyFree Living